If you’ve dabbled in craft projects and DIY hobbies, chances are you’ve encountered the concept of mixed-media art. Combining different materials, textures, and artistic elements, mixed-media projects transform simple pieces into breathtaking, layered creations.
Whether you’re an experienced craft enthusiast or a DIY newbie, this blog will help you explore techniques and tips to elevate your mixed-media skills. From layering cardstock and fabric to blending metal and glass, we’ll cover actionable steps to create one-of-a-kind projects that leave a lasting impression.
What is Mixed-Media Art?
Mixed-media artwork integrates various materials and mediums to form a cohesive but unique design. It allows crafters to expand beyond traditional art forms, incorporating paper, fabric, paints, metals, and even digital elements.
The beauty of mixed-media lies in its versatility. It’s perfect for scrapbooking, card-making, wall art, or even functional home decor items. For example, layering textured paper with acrylic stamps and metallic accents can completely transform a greeting card from plain to sophisticated.
Why Should You Explore Mixed-Media Crafting?
1. Endless Creative Possibilities
Mixed-media crafting is like opening a treasure chest of artistic freedom. When you work with different textures, colors, and materials, your options become virtually limitless. Combining unexpected elements, such as lace over rustic wood or soft inks on metal, creates visual intrigue and showcases your unique personal style.
2. Budget-Friendly Crafting
Do you have leftover fabric scraps or unused materials from other projects? Mixed-media crafting lets you creatively repurpose them. Many stunning results come from pairing inexpensive or recycled items with basic craft supplies, making this type of DIY both resourceful and fulfilling.
3. Develop New Skills
Trying new materials and techniques in your mixed-media projects will sharpen your crafting skills over time. Learning how to work with embossing folders, for example, introduces additional intricacies to your work. Don’t be afraid to experiment—you might discover a brand-new passion.
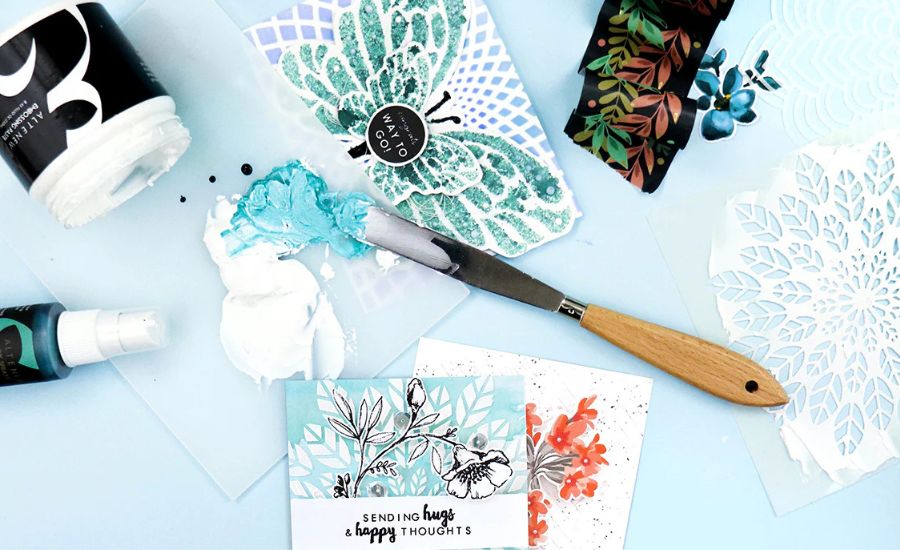
Top Materials to Incorporate in Mixed-Media Projects
Paper and Cardstock
High-quality cardstock and patterned paper are foundational materials in most mixed-media art, especially for card-making and scrapbooking. These can be layered, die cut, and embellished with ease for an elegant touch.
For instance, using a die cut creates intricate designs that add dimension and sophistication to your projects. The crisp, consistent shapes produced by die cutting can elevate even the simplest cardstock layout.
Fabric and Textiles
Adding fabric, lace, or felt introduces softness and a tactile dimension to your project. Layer a piece of distressed fabric behind a die-cut frame, or use stitching patterns to create texture.
Paints and Adhesives
Acrylic and watercolor paints are great for creating an expressive background or highlighting key elements in your design. You can experiment with mixed powders or metallic paints to bring out details. Don’t forget strong adhesives to secure different materials in your project.
Metal and Embellishments
Metal charms, brads, and foils give a polished flair to your creative work. They pair seamlessly with softer materials like paper or fabric. For example, a metallic corner embellishment on textured paper invites the viewer’s attention to your crafted piece.
Glass and Resin
Want to create a sense of sophistication? Glass beads or resin layers add depth and a reflective shine to your mixed-media masterpieces.
Techniques for Stunning Mixed-Media Compositions
1. Layering for Depth
One of the secrets to dynamic mixed-media designs is layering. Stack your materials to add depth and interest to your project. Start with a solid base, like canvas or thick cardstock, and gradually layer lighter decorative elements like papers, textures, and embellishments.
2. Experiment with Different Tools
Mixed-media art is an excellent time to try out new tools and techniques. Use embossing folders to create raised textures, stencils for adding patterns, or die-cut machines for decorative shapes. The variation in finishes will make your craft genuinely captivating.
3. Blend Complementary Textures
Pair rough materials with smooth ones—such as burlap with glossy cardstock. Or combine soft fabric with harder elements like metallic charms for a visually stimulating contrast.
4. Balance is Key
While adding layers and combining textures is exciting, don’t overcrowd your piece with too many elements. Remember to leave some blank spaces to allow each feature to stand out. A harmonious balance ensures your overall design looks intentional and polished.
5. Telling a Story
Your mixed-media art can convey a theme or tell a story. Whether it’s a serene landscape or a nostalgic memory, weave together materials and mediums that reflect your message. Stick to certain tones, colors, or imagery for a visually cohesive narrative.
Troubleshooting Common Challenges in Mixed-Media Art
Messy Layering
If your designs feel scattered, plan elements ahead of time by sketching or laying out your materials before gluing anything down.
Adhesive Issues
Not all adhesives work well with every material. For example, hot glue may fail when securing heavier embellishments, while fabric may require a fabric-friendly glue.
Overwhelming the Design
Feeling like your creation is cluttered? Step back, remove an element or two, and evaluate its impact. Simplicity can often feel just as bold.
Unlock Your Creativity Through Mixed-Media
Whether you’re creating greeting cards, scrapbook layout, or wall art, mixed-media design lets you push the boundaries of traditional crafting. By experimenting with materials like paper, fabric, and metal, you’ll unlock creative possibilities that set your projects apart.
Start small, and don’t hesitate to try new techniques like die cutting to discover what resonates most with your style. Mixed-media crafting isn’t just about the end result—it’s an opportunity to explore your creativity, one layer at a time.